Sunday, June 15, 2014

The Life and (Possible) Death of My Peas

This post is going to be extremely picture-heavy so bear with me!

This has been a great year for my peas, which have grown to a gargantuan size. They're now well over 4 feet tall…. or at least they used to be! I usually use tomato cages as supports for my peas and they're never outgrown the cages, but these plants were head and shoulders above their supports and then we got a windy storm at the end of the week. 

So here is a recap of the peas so far, in case they do not rebound from the damage :(


pea shoots and flowers blooming
New shoots and a bunch of new flowers

A tangle of tendrils!

Growing pea pods

Baby Pod!

More baby pictures :)


The tops are blown straight over!

Front view of the damage

My kinda solution to the problem… At least they're off the ground now right?


Some of the stalks definitely appear to have snapped a bit

Or snapped almost entirely off...

A few only look like they got bent though and that's where my hope comes from!

Time will tell on these guys. I'm really hoping that at least some of them are okay seeing as I was really looking forward to some home grown peas!

Wednesday, June 11, 2014

Quick Update

I stopped by my garden on my way home from work and was astounded at the growth over there! No pictures today as it was raining and I didn't want to risk my camera, but I will put some up tomorrow.

In the course of 3 days my peas have gone from 1 flower to dozens with tons of side shoots starting to grow. I'm pleased, but surprised - I've never had pea plants get this big in the past! The sugar snap are about 4 feet tall and still growing up. They've long-since dwarfed their supports. I'm going to need something else to stick in them for support this weekend or they may topple!

All of my recent transplants (peppers, eggplant and tomatoes) are all settling in very nicely. I only seem to be in danger of losing 1 plant (a Wild Cherry tomato plant that is 50/50 on survival at the moment) and I already have a few bell peppers setting fruit.

The bush beans are starting to get some buds on them which is also great news! In addition, I filled in the few empty spots in the bean patch with my second set of seeds so hopefully I'll be able to have a nice staggered harvest this summer.

And finally, most of my squash family seeds are sprouting! I have almost 100% germination on my zucchini and cucumbers. The winter squash is also starting to poke their heads out of the ground (pumpkins and spaghetti squash). I'm very hopeful on these guys this year. I've never had amazing success with winter squash because of squash vine borers, but I'm convinced this is my year!


Monday, June 9, 2014

Harvest Monday - Kind Of...

My Harvest Monday is less of an actual harvest and more of a "look how well things are growing" post. It's been a long, cold and slow spring here in Massachusetts and it has definitely delayed things for me unfortunately.

My (main) garden this year is at my father's house, but I had to do some serious work before planting could happen. As such, the cold exacted an ever greater toll on my planting schedule than it normally would. Additionally, one of the dogs got a bit curious of my seedlings and I lost all but 12 tomato plants. I actually had to go buy pepper and eggplant seedlings for the first time ever!

This has definitely been an interesting spring, but I think we're finally on the right path now as you can see below!

Peas are going crazy, but not flowering yet...

Beans in the front, followed by Peppers and Eggplant

The first pea flower! This is on one of my "Sugar Snap" plants.

Flowers on the Bell Peppers

Cucumber Seedling
Spacemaster Cucumber sprouting :)

First tomato flower of the year!
First flower on the tomatoes! 
This is on the Black Krim variety - a new one for me this year.


Sunday, March 2, 2014

Seed Starting: Tomatoes, Peppers, Eggplant and Broccoli

I finally got around to starting a significant portion of my plants on March 1st. This is much later that I had originally planned, but I was waiting on a seed order that still has not arrived! As a result, I decided to use up all of my old seeds and will have to save the seed I ordered this year for next year.

Technically the broccoli/cauliflower really should have been started at the beginning of February and the peppers/eggplant in mid February. The tomatoes should be okay, though in the past I always just started them with the peppers/eggplant.

They're all sitting on a heat mat covered in plastic to keep the humidity up, now we just have to wait for sprouts! 

Wednesday, February 19, 2014

2014 Seed Order

My seeds have been ordered! This year's garden will mostly be using old seeds from a couple years back, but I also wanted to supplement in some newer seeds as well. I only ordered new varieties of seed and will attempt to use up all my old seeds this year and then save what I can at the end of the year.

The shopping cart was:


DescriptionUnit priceQtyAmount
TIP OFF ROMANESCO CAULIFLOWER$1.95 USD1$1.95 USD
MISTICANZA MESCLUN (30 days)$1.75 USD1$1.75 USD
HOLLOW CROWN PARSNIP $1.50 USD1$1.50 USD
BIG RED PEPPER (75 days)$1.50 USD1$1.50 USD
CUBANELLE PEPPER (65 days)$1.25 USD1$1.25 USD
HABANERO HOT PEPPER$1.50 USD1$1.50 USD
COCOZELLE SUMMER SQUASH (heirloom)$1.35 USD1$1.35 USD
JARRAHDALE SQUASH $1.35 USD1$1.35 USD
TOM WATSON WATERMELON (90 days )$1.25 USD1$1.25 USD
COUSTRALEE TOMATO (heirloom)$1.50 USD1$1.50 USD
OPALKA TOMATO (83 days)$1.50 USD1$1.50 USD


I ordered from Pinetree Garden Seeds located up in Maine. I ordered from them one other year and was very happy with the quality of what they sent. Plus, they have amazingly cool seed envelopes!

Now comes the hard part… waiting for my order to arrive and then waiting to plant things at the appropriate time. I just want it to be July already!

Tuesday, February 11, 2014

What I'm Growing - Onions, Sprouts and Leeks

Yesterday I started my first seeds of the season. I planted some onions, brussels sprouts and leeks. Though I will say I'm not expecting too much, as I decided to try to use up some of my old seed instead of buying a whole new bunch of seed packets in an attempt to keep the costs of restarting the garden to a reasonable amount. So instead of new seed, I sowed thickly and am keeping my fingers crossed!

Onions - Southport Red Globe


These seeds were supposed to go in my 2012 garden, but I unexpectedly ended up without garden space that year. There is widespread agreement that onion seeds are only good for a year and any that are not used up should be thrown away. However, I say bollocks to that! Mostly because I don't yet need the seedling tray they are currently occupying for anything else. So why not try and see what happens?

Brussels Sprouts - Long Island Improved


Despite using old seeds (again from the 2012 garden that never came to fruition), this is a new plant for me and of course I am already experimenting! Hopefully, these seeds should be fine. Based on my research most sources estimate a viable life of 3-5 years for sprout seeds.

It appears that most people only plant sprouts for a fall harvest. But…. I say why not try for both a spring and fall harvest? I'm not expecting the spring harvest to work, but it will certainly be a nice surprise if it does. Plus, it gives me a practice run at growing sprouts before my "real" go at them this fall.

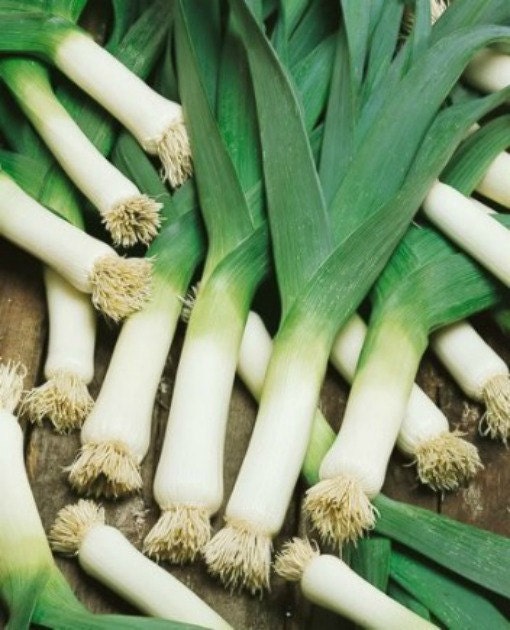
Leeks - American Flag


This is another new plant in my garden - well, kind of. I started growing these for the 2012 garden, but they were never planted. I'm not quite sure what to expect from these. It looks like opinions tend to vary about the longevity of these seeds. Some places I looked categorized them with the short-lived onion seed, but others gave it a 1-3 year range. I sowed thickly and am hoping that the 3 year range isn't just dreaming!

What has everyone else started so far? Has anyone had any experiences using old leek and onion seeds?

Sunday, February 9, 2014

I'm Back!

It has been a couple of years since I last posted here. Mostly because life got busy and in the way of my gardening. I have not had garden space for the past 2 summers due to traveling and then moving to England for 8 months. However, all of that has officially changed!

This past year I graduated from university, got a grown up job and was able to talk my father into letting me rip up part of his lawn to grow some vegetables. Only condition being that he gets to reap some of the rewards!

It has been far too long since I've had a garden and as such I probably should take this season slowly. However, I am way too excited to be cautious! I've got the blueprint sorted for the layout and have gone though all of my old seeds to check what is still viable and which need to be tossed out.

This past week I even made final decisions about what new varieties of veggies I will be growing and will be officially finalizing my seed order shortly.

It may only be February, but I already can't wait for the summer!


Monday, August 8, 2011

Harvest Mondays

Green Oregon Spring and Oxheart Tomatoes with Tam Jalapeños


Ripe Oregon Spring Tomatoes


Pink Oxheart Tomatoes, Cherokee Purple Tomatoes and Tam Jalapeños


All Lined Up!


Monday, August 1, 2011

Rural Garden Fence

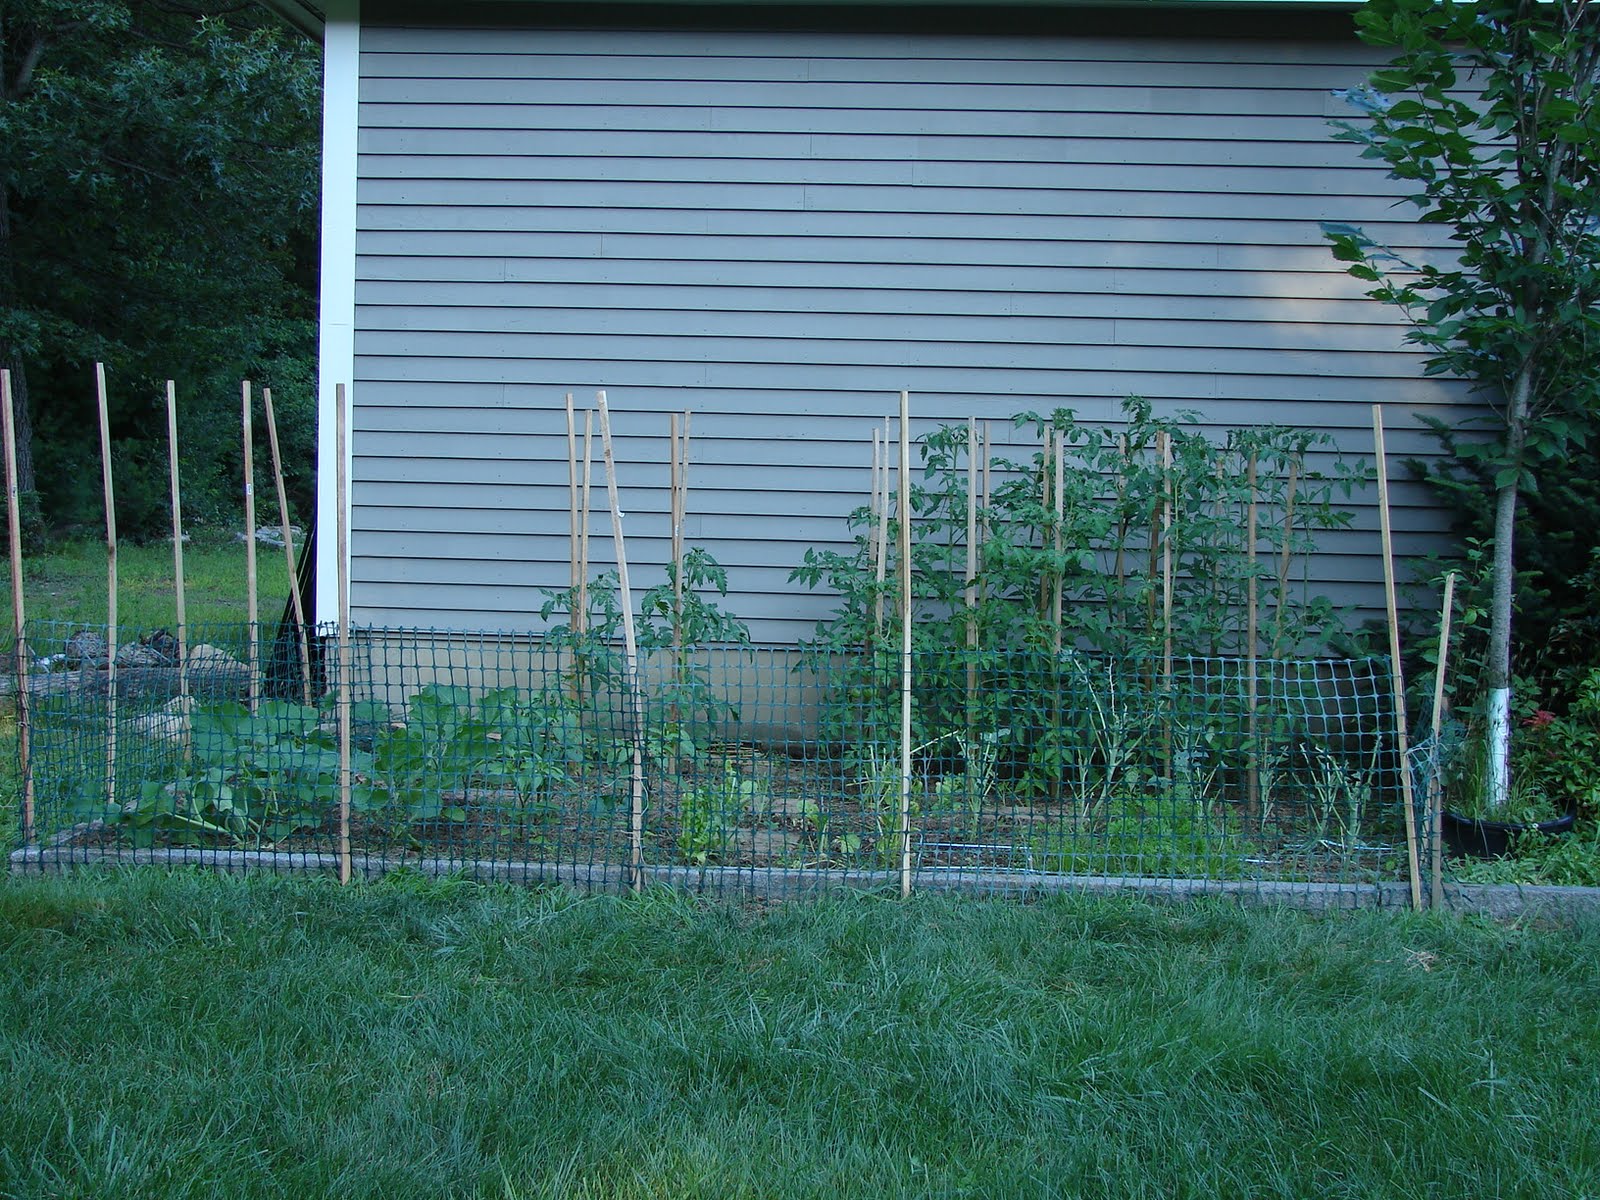
A couple of weeks ago I noticed that some of my plants looked like they were getting nibbled by more than bugs. A few days later my mother chased a bunny away from my carrots. So I decided it was time to build a fence! Nothing fancy or expensive of course. My mother finally finished getting her pool fenced in so she gave me the green plastic fencing she had been using to keep the dogs on the patio.


It's not fancy, but it'll work!


This is Chloe the master escape artist. She "helped" by showing me where the fence needed work.

Sunday, July 31, 2011

Harvest Pics (Finally!)

I've been harvesting from my garden for a couple weeks now, but none of it ever seems to make it into pictures! Part of the issue is that I'm mostly harvesting from the rural garden and then I make dinner for everyone over there, so a lot of the time nothing makes it back to the apartment.

First Harvest of String Beans: Blue Lake (Green), Pencil Pod (Yellow) and Dragon Langerie (Purple)


First Ripe Tomatoes! 5 oz of Oxheart Pink tomatoes picked July 16th.


1 1/2 pounds of beans. About half of these were sent home with friends.


On a side note, I'm looking to buy a pressure canner and would love some input from others about their favorite brands/sizes before I invest. My price limit is $200, but I'm hoping to spend more like $100-$150.

Sunday, July 3, 2011

Rural Garden: General Growth

Monster tomato plants aside, the rest of the rural garden is also showing some excellent growth.

The Left Garden

Finally a pea harvest!

Lots of buds on my Tam Jalapenos.

Unfortunately my largest broccoli plant now looks like swiss cheese.


I'm pretty happy with all of the good growth, minus the destruction of my broccoli. My squash (butternut, summer and spaghetti), zucchini, pumpkin and cucumber seeds have all sprouted as well. However, next time I will be planting the peas a lot thicker than I did this time.

Friday, July 1, 2011

Rural Garden: Tomato Explosion!

I'm just back from a trip to the rural garden and all I have to say is WOW. The growth over there is astounding, especially when I compare it to the community garden with its horrible soil.

Tomato Plants, 2 weeks ago

Tomato Plants, Yesterday

Lots of buds, flowers and about 20 green tomatoes!


I'm now even more excited about how many delicious tomatoes I'll be harvesting this year. These plants are just massive! Those stakes have about 5 1/2' above ground. I think they'll soon be towering above their supports if they keep this up.

Sunday, June 26, 2011

Mystery Disease

I went to the community garden for the first time in about a week and was pleased to see that it's mostly thriving. However, a quick examination of my tomato plants showed that a quarter of them are infected with something. At first I thought it was just dirt splashed on the leaves, but unfortunately it's definitely not dirt. I'm thinking it's either septoria leaf spot or early blight, but I've not seen this before and would love some help figuring out what it is. The affected leaves are mostly on the bottom half of the plants.


Other than the diseased plants everything is looking pretty good, although I had a ridiculous amount of weeding to do in the right bed. I'm particularly happy with the bean patch and the kale, which have both shown awesome growth and are looking very healthy.

Before Weeding....


And After!


Donated Kale


The Bean Patch


*Update!* After some help from the people over at gardenwebs and a return visit to the garden I have decided that my mystery disease is indeed early blight. I yanked the 2 plants that were most heavily affected and removed all the infected leaves/branches from the other plants. Now I'm just waiting it out to see how it goes.

Friday, June 17, 2011

The Urban Bean Patch


The Bean Patch

The soil in the community garden is somewhat depleted and crop rotation of any kind just does not seem to happen, so this year I decided to dedicate half of my plot to beans in an effort to break up the tomato/pepper/eggplant monotony.

Black Valentine Beans

Envy Soybeans


I ended up planting Slenderette, Blue Lake, Dragon Langerie, Pencil Pod, Black Valentine, Envy Soybeans, Vermont Cranberry and Jacob's Cattle. I also have plans to plant my Black-Eyed Peas the next time I get over to the community plot. I'm very happy with the germination rates of these beans, even with the storms and tornadoes that ravaged my area shortly after planting. But they've survived and seem to be doing just fine!

Thursday, June 16, 2011

Pizza Night: Wheat Crust with Veggies and Ham


Normally I'm the one making pizza from scratch, but this time girlfriend decided to help out and made the crust. She followed a recipe from Italian Cooking: The Definitive Encyclopedia of Fabulous Food by Capalbo, Whiteman, Wright and Boggiano, which is a great cookbook filled with the basics and information about techniques.

The main thing I love about pizza (besides how good it tastes!) is the opportunity to use any leftover veggies from the week's shopping (or the garden) before they go bad. So while girlfriend made the crust, I chopped and sauteed peppers and onions to top the pizza. I also chopped up some deli ham that needed to get finished off or it would likely have ended up in the garbage in the next couple days. Then some fresh mozzarella was shredded and some thin slices of fresh parmesean were shaved off the block.

Here's the recipe for the crust:
Wheat Pizza Crust
Ingredients
1 1/2 Tbsp Active Dried Yeast
1 Cup Lukewarm Water
Pinch of Sugar
2 Tbsp Olive Oil
1 Tsp Salt
1 1/4 Cups White Flour (We use organic bread flour)
2 Cups Stone Ground Whole Wheat Flour

Directions
1. Warm a medium mixing bowl by swirling hot water in it, then drain. Place yeast in the bowl and pour in the warm water and sugar. Mix with a fork and allow to stand until yeast has dispersed and starts to foam (about 5-10 minutes).

2. Use a wooden spoon to mix in the olive oil, salt and white flour. Then mix in about half of the wheat flour, stirring with the spoon until the dough begins to form a mass and pull away from the sides of the bowl.

3. Sprinkle some of the remaining dough onto a smooth work surface and knead the dough while working in the remaining flour a little at a time. Knead for 8-10 minutes and then form into a ball.

4. Lightly oil a mixing bowl, place the dough in the bowl and place a moist kitchen towel on top of the bowl. Leave it in a warm place to rise for 40-50 minutes. When it has doubled in size punch it back down (to release the air) and then knead for 1-2 minutes.

5. You can divide the dough in two for medium pizzas or leave it for an extra large pizza. Flour a smooth surface and use a rolling pin to roll it to the desired thickness (I usually roll mine out to about 1/4 inch thick). Then place the dough on a lightly oiled pan (We usually skip this and just sprinkle cornmeal on the pan).

That is the end of the book recipe, but here's how I finish mine up!

6. Place pan in oven pre-heated to 500 degrees and pre-bake the crust for about 5 minutes.

7. Remove and top the pizza. Return to oven for 5-10 minutes until cheese is bubbly and lightly browned.

I was pretty happy with this recipe as it makes a solid chewy, but strong crust. At the end of the cooking time be sure to keep an eye on your oven. Some pizzas only need 5 minutes, whereas others really need the full 10.

Saturday, June 11, 2011

Rural Garden Update

The rural garden plot is doing great! Unfortunately there have been no updates because whenever I make the trek to my mother's house I seem to always be forgetting my camera. But no more! I was there the other day and finally managed to snap a couple of pics.

My tomato babies are looking good!

The tomatoes were planted about a week and a half ago and seem to be really settling in. However they are looking a little close together. I spaced them at 1.5 feet apart in all directions in a stab at square foot gardening, so we'll see how it goes. I can always pull a few plants if it seems like they're strangling each other. As you can also see, the tree my father refused to move is shading the plants from the morning to early afternoon. Hopefully I'll soon be allowed to move it (depending on my mother's powers of persuasion, because mine failed) and my plants will have fewer shade issues.

From left to right, eggplant, tam peppers and a block with cauliflower and lettuce.

I had just transplanted the peppers and eggplant the day of this picture and hear they're still looking good. The tam plant that you can barely see is one that got a bit stunted so I'm not sure it will make it, but I figured I'd try anyways! I put my 17 year old brother on watering duty for the new transplants and the pumpkin, squash and zucchini seeds I just planted. I got a little overwhelmed with the seed starting and apparently forgot these guys so we'll see how they do direct seeded. *Hopefully* he remembers to water and that I told him not to water so much that there are puddles everywhere...